How to Install Gnome GUI on CentOS 7 / RHEL 7 Linux Systems
Linux admins spend most of their time on working in a terminal; there are some who like to work on GUI instead of a terminal. By default, CentOS 7 installed as the minimal server, and user intervention is required to change the installation type. This guide will help you to install GUI on CentOS 7 on the top of the minimal server installation.
Before installing GUI, make a Local Yum Repository to avoid downloading packages from the internet.
Optional: Run the following command to list down the available package groups for CentOS 7.
# yum group list
Output:
Loaded plugins: fastestmirror
There is no installed groups file.
Maybe run: yum groups mark convert (see man yum)
Loading mirror speeds from cached hostfile
Available Environment Groups:
 Minimal Install
 Compute Node
 Infrastructure Server
 File and Print Server
 Basic Web Server
 Virtualization Host
 Server with GUI
 GNOME Desktop
 KDE Plasma Workspaces
 Development and Creative Workstation
Available Groups:
 Compatibility Libraries
 Console Internet Tools
 Development Tools
 Graphical Administration Tools
 Legacy UNIX Compatibility
 Scientific Support
 Security Tools
 Smart Card Support
 System Administration Tools
 System Management
Done
Step 1: Install Gnome GUI by issuing the following command.
CentOS 7
# yum group install "GNOME Desktop" "Graphical Administration Tools"
RHEL 7
# yum groupinstall "Server with GUI"
Step 2: Enable GUI on system startup. In CentOS 7, systemd uses “targets” instead of runlevel. The /etc/inittab file is no more used to change run levels. So, issue the following command to enable the GUI on system start.
# ln -sf /lib/systemd/system/runlevel5.target /etc/systemd/system/default.target
Step 3: Reboot the machine to start the server in the graphical mode.
# reboot
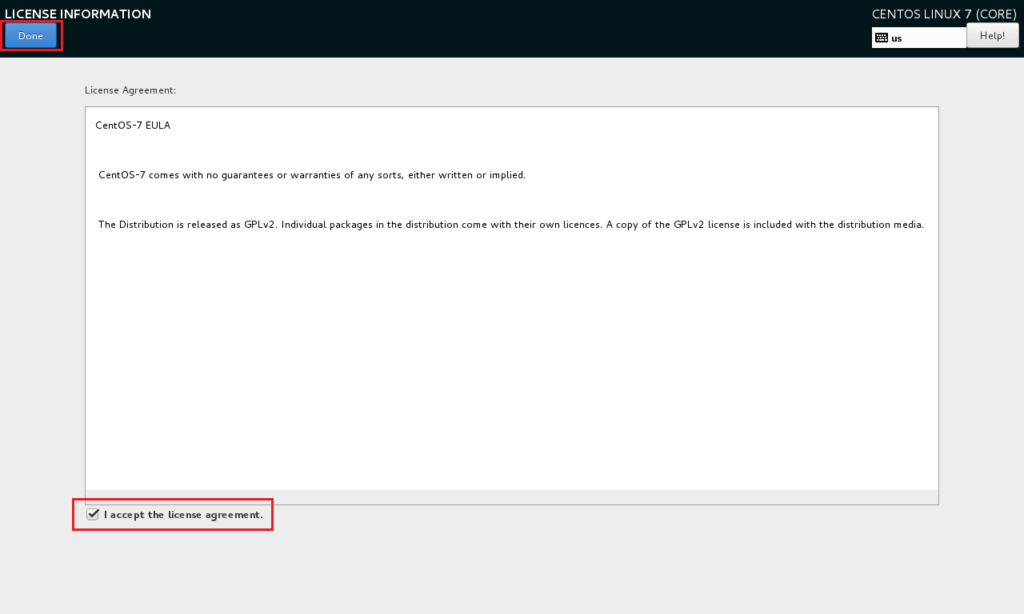
License Agreement:
Accept the license by clicking on the “LICENSE INFORMATION“.

Tick mark the “I accept the license agreement” and click on “Done“.
Click on “FINISH CONFIGURATION” to complete the setup.
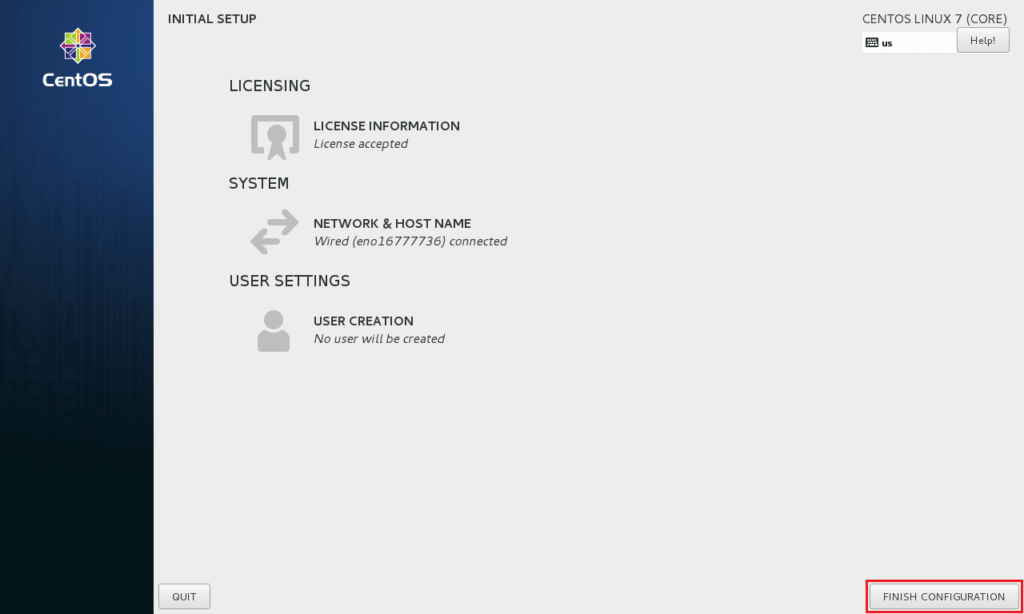
You may need to do some post configuration tasks, like creating first user (local account), language, etc.
Then finally you will get the desktop.

That’s All. You have successfully installed GUI on CentOS 7 / RHEL 7.

If You Appreciate What We Do Here On Mimastech, You Should Consider:
- Stay Connected to: Facebook | Twitter | Google+
- Support us via PayPal Donation
- Subscribe to our email newsletters.
- Tell other sysadmins / friends about Us - Share and Like our posts and services
We are thankful for your never ending support.


